Quick Start
This section provides introductory examples to demonstrate the core workflow of using osm2gmns for generating, processing, and exporting transportation networks.
osm2gmns processes network data from local OpenStreetMap files (.osm, .xml, or .pbf formats). Therefore, the first step is always to download the OSM data for your region of interest. Several methods exist for this, detailed in the Get OSM Data section.
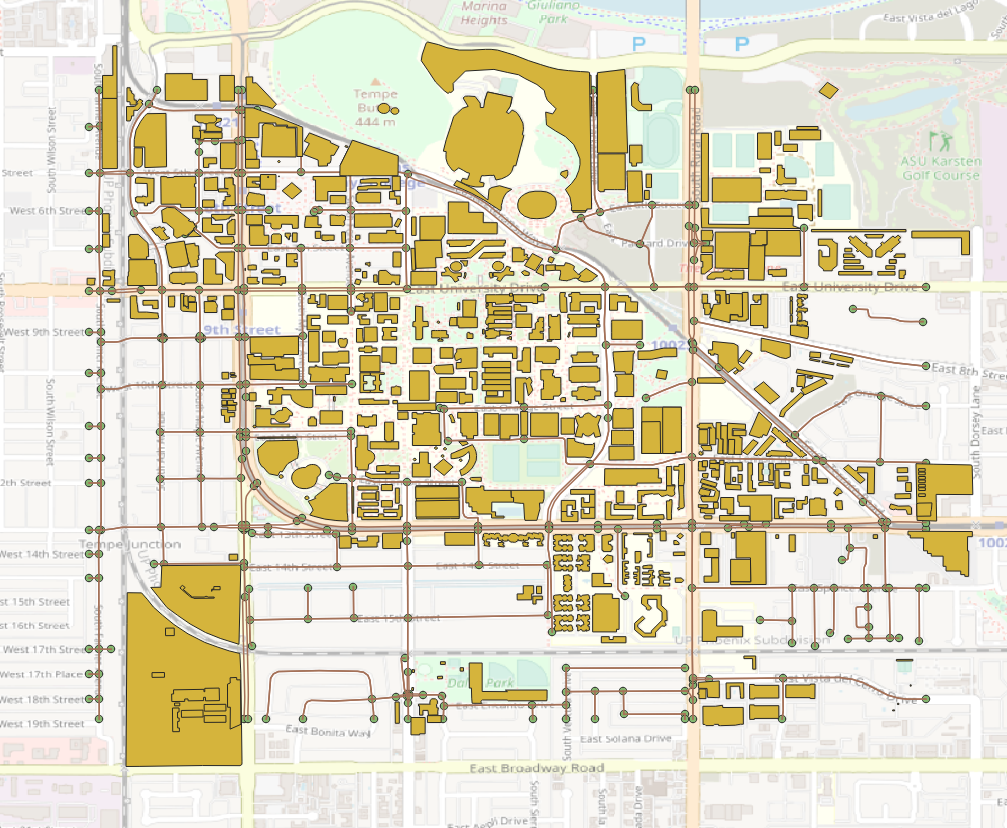
In this guide, we use the area around Arizona State University, Tempe Campus as an
example to introduce some major functions in osm2gmns. The downloaded osm file is named
as asu.osm.
Basic Network Generation
Load a network from an OSM file and export it to GMNS-compliant CSV files.
>>> import osm2gmns as og
>>> net = og.getNetFromFile('asu.osm')
>>> og.outputNetToCSV(net)
By default, getNetFromFile extracts the drivable network (mode_types=’auto’).
In the example, the output folder is set as the current working directory. Users
can specify the output folder by using the argument output_folder. The output
files include node.csv and link.csv, which contain node and link information
respectively.
Consolidate Intersections
In OpenStreetMap, large intersections are often mapped using multiple nodes.
For many traffic analysis tasks, it’s beneficial to represent such intersections
as single nodes. The consolidateComplexIntersections function achieves this,
typically focusing on signalized junctions.
>>> net = og.getNetFromFile('asu.osm')
>>> og.consolidateComplexIntersections(net, auto_identify=True)
>>> og.outputNetToCSV(net)
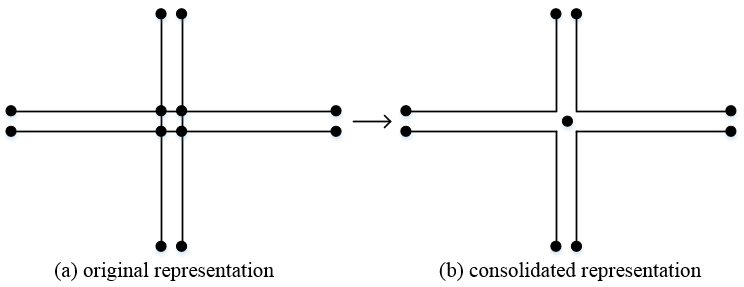
Complex intersection consolidation
The resulting network can be visualized using tools like QGIS or NeXTA to inspect the consolidated intersections.
Network Types and POI
osm2gmns supports five different mode types, including auto, bike, walk, railway, aeroway.
Users can get different types of networks by specifying the argument mode_types (default: auto).
>>> # obtain the network for bike
>>> net = og.getNetFromFile('asu.osm', mode_types='bike')
>>> # obtain the network for walk and bike
>>> net = og.getNetFromFile('asu.osm', mode_types=['walk','bike'])
>>> # obtain the network for auto, railway and aeroway
>>> net = og.getNetFromFile('asu.osm', mode_types=['auto','railway','aeroway'])
Obtain POIs (Point of Interest) from osm map data.
>>> net = og.getNetFromFile('asu.osm', POI=True)
If POI=True is used, outputNetToCSV will generate an additional poi.csv
file alongside node.csv and link.csv.
Network with POIs
Generate Multi-Resolution Networks
Multi-resolution (MRM) functionalities are currently not available in v1.x. For MRM, users can use the latest v0.x. Check the v0.x user’s guide for details.